The Project Folder
Ah, the lapbook. LOVE the concept of having mini-books to get
creative with and study with, but I don’t like how cumbersome the actual
lapbook is. A lapbook for those who don’t know is a file folder that
has been folded in a specific way in order to make flaps that open in
the front. It can be added to with other file folders and can get quite
unwieldy depending on how involved the unit study is.Some can even
open out to 4 or 5 files long with attachments that open to the top and
bottom. They are amazing! But they are horrible to store. I have found a
couple of “good” ways to store them, my favorite was adding duct tape
to one side with an inch border hanging off the edge, hole punch that
and stick the lapbook in a binder. But I still don’t like the way it can
flip open at a moments notice and cause problems closing the binder. Or
worse get all bent out of shape!! So this is my solution!
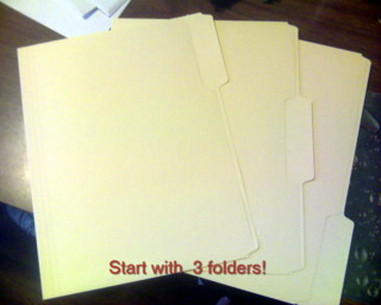
The Project Folder uses the same materials as a lapbook–file folders. They can be any color combination or all of them can be the same color. You will need an exacto (craft) knife and a cutting board. I suggest that only adults be doing any cutting required!! KEEP THE KNIVES WELL OUT OF REACH OF CHILDREN! You will also need a ruler–any ruler at least 6 inches long will work.
First determine how many folders your study will require. Some tips are:
1. you can roughly fit 4 or 5 mini-books per side–depending on how large they are.
2. You will be able to use both the front and the back of each side of the file folders. You may want to reserve one side for the front and one side for the back of your project folder.
3. Any large pieces of paper do not need to be glued to a file folder, there is a solution for those items as well–so don’t take those into consideration when determining the amount of folders you need.
Next you will take ONE of the file folders, the one you want to be the FRONT of the project folder.
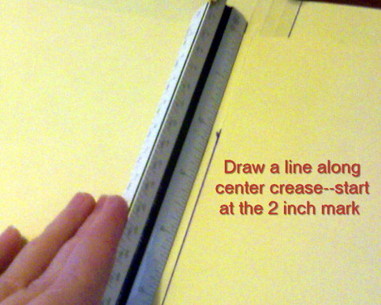
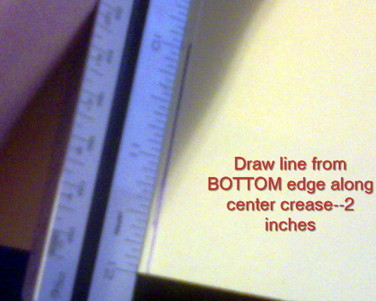
You will be using the ruler to make some measurements. Using the ruler
on the spine of the folder, measure down 2 inches from the top edge of
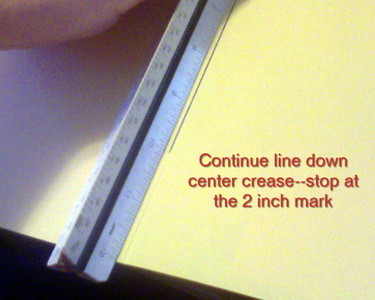
the folder along the spine. Then measure 2 inches from the bottom of the
folder along the spine. CUT between the two marks. You will be leaving
the edges intact.
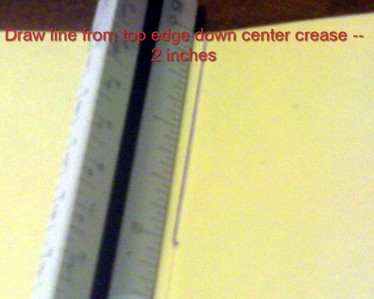
You will then cut the remaining folders in this manner: Again
measure both the top and bottom of the folders along the spine to the 2
inch mark. You will then cut along the spine from the 2 inch mark to
the edge of the folder. The EDGES WILL BE CUT.
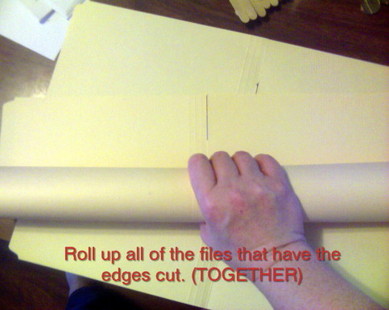
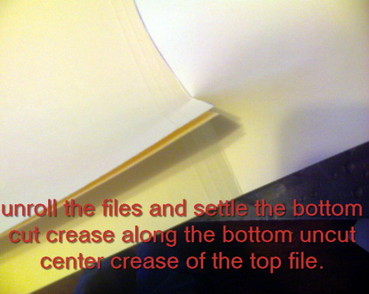
The final step will be to combine the folders: Take
the second set of folders (The ones with the edges cut) and roll them
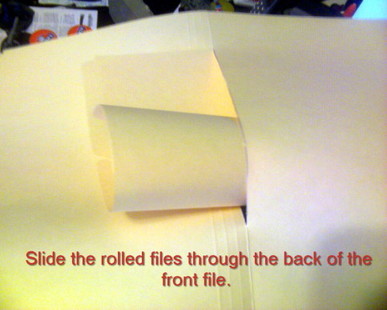
together beginng at the bottom edge. Take the rolled folders and insert
them through the back side of the new opening in the first folder. (If
you have the file folder open towards you–the side facing you is the
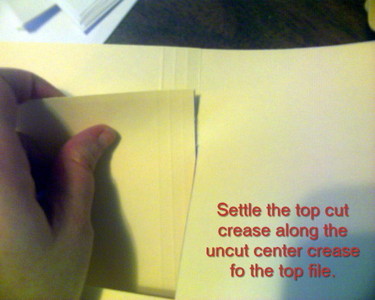
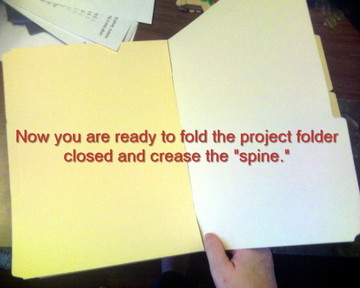
front) Gently unroll the folders and settle the cut spines along the
spine of the front folder. You will then be able to fold the folders so
that the front page is on the front and the remaining close. If you have
a large project that will require many folders, you can do this step in
smaller portions. ONE TIP: If you have all of the folders “opening”
the same way–ie toward you–they will fold much easier when you try to
close them.
At this point your project folder is ready to be used! Have a great study!
COUPLE OF POINTERS:
Markers do not work on colored folders very well. It seems there is a coating that makes the markers bead up. I suggest either using clipart that can be glued on OR use crayons.
Large Items???� This is one of the greatest assets of the project folder–you can add page protectors wherever you need them. Simply place them where you want and add a brad coming in from the opposite side of the file folder where you need them. You can add as many as you need!!
